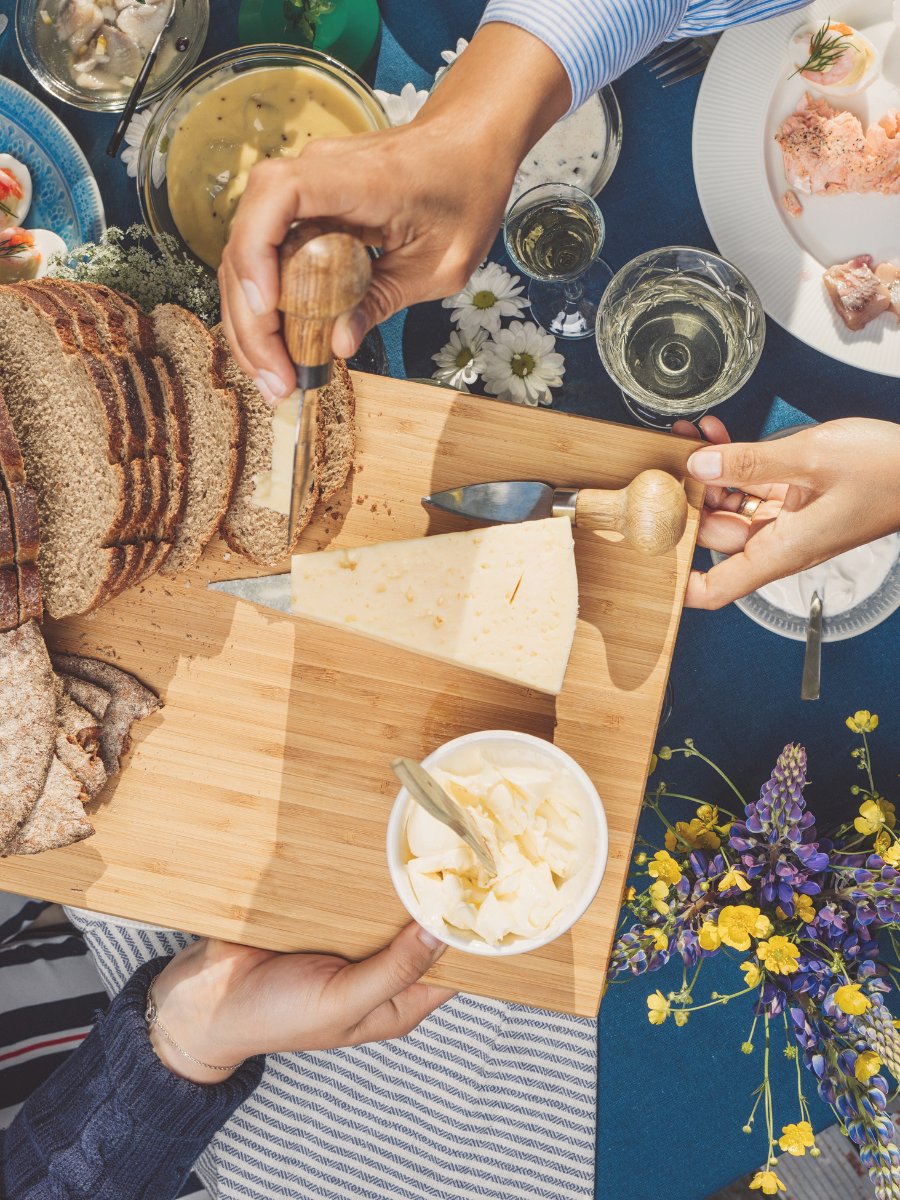
Today I’m going to share with you how to make your very own supply of “liquid gold” – aka – Ghee.
Here’s a picture from my latest batch on Instagram.
What is Ghee?
Ghee, also commonly referred to as clarified butter, is a dietary source of fat that’s traditionally used in Indian cooking. It’s also used as a medicinal and healing food in Ayurvedic medicine, where it’s known as ghrita.
Ghee is essentially butter with the water and milk solids removed, which also has a rich, nutty, and caramel-like flavour and smell that distinguishes it from butter.
It’s almost like butter upgraded.
Don’t get me wrong – I still love butter! But apart from its caramelized appeal, ghee also has a few other notable and unique advantages that set it apart from butter.
Benefits of Ghee vs Regular Butter
Ghee shares a similar nutrient profile with butter, although it’s slightly more concentrated in fat – since the milk solids and water are removed.
Ghee has a distinct advantage over butter in two key areas:
1) It contains zero to nominal amounts of the milk protein casein and milk sugar lactose. For people who have sensitivities or intolerances to these components of dairy, ghee is the clear choice.
2) It has a higher smoke point than butter and is shelf-stable. Ghee has a smoke point of 485°F (250°C), which is substantially higher than butter’s smoke point of 350°F (175°C), so it’s more suitable for higher temperature cooking without oxidizing and creating toxic by-products. Furthermore, it can sit on the shelf for at least a month (if not longer) in an airtight jar, and stores much longer in the refrigerator.
Similarly to butter, ghee tastes great over roasted veggies, potatoes, spread on toast, or atop any grain dish. Basically, you can use ghee in place of oil for almost any of your cooking needs, including stir-fries and sautéed dishes.
(Side note: I also recently used it in place of coconut oil in my chocolate bark recipe that literally made it taste like a Skor Bar – a favorite as a kid!)
Homemade Ghee vs Store-bought
You can find ghee in most health food stores and specialty food stores and/or sections of the grocery store, however, there are a few factors to keep in mind before purchasing.
1) Price. Good quality ghee can be quite expensive to buy and by comparison, is much less expensive to make at home yourself, especially when you also factor in quantity.
2) Quality. Lower-priced ghee usually isn’t made with high-quality organic, and/or grass-fed butter, so it won’t be as nutrient-rich and may contain pesticides and other residues. Lower quality ghee can also contain additives like flavouring or colours. Always check the label and be sure that the only ingredient listed is butter!
Homemade Ghee Recipe
Once you make your own homemade ghee for the first time and realize how easy it is to prepare, you’ll likely kick yourself for not having made it sooner (*slowly raising my hand over here*).
Note: When it comes to the quantity you can start with one or two pounds of butter or however big of a slab you already have on hand. Case in point, this last time I made it I only used about 1/2 a pound of butter since that’s what I had on-hand and it made the exact amount you see in the image above. Usually, though I’ll make about one pound at a time.
Here’s what you’ll need:
- A small to medium saucepan (depending on quantity you’re making)
- A large spoon for stirring
- A fine-meshed sieve
- Several layers of cheesecloth (a nut milk bag works too!) to line the sieve
- A large bowel or measuring cup (one with a poring sprout can make things easier especially if you’re making a larger amount. The rebel in me always just uses a bowl, mind you, I don’t own a measuring cup with a sprout)
- 1 -2 glass jars with lids for storing your ghee
Ingredients:
- High quality, unsalted butter (ideally organic and/or grass-fed). You can make as much as you want but I suggest starting with half a pound or 1 pound your first time in case you burn it – not hard to do!
Instructions:
The whole cooking process takes about 10-15 minutes.
- Cut butter into small cubes. This allows for the butter to melt faster and more evenly.
- Melt butter over medium heat and once it starts to foam and bubble reduce the heat to low.
- Gently stir it from time to time as it goes through this foaming and bubbling process. This process will eventually almost slow down to a simmer and you’ll notice that the foam becomes thinner while the bubbles actually get bigger and clearer.
- Soon you’ll notice the milk solids start to curdle and separate from the liquid. Scrape the sides and bottom of the pan to prevent the solids from sticking and to encourage them to sink to the bottom. Notice your butter taking on a more golden colour. Keep stirring and scraping the bottom of the pan to ensure that the milk solids don’t burn (important!)
- Eventually, the butter will start to foam for a second time (like it did in step #2). This is your indication that the ghee is ready and should be removed from the heat. At this point, you may want to let it sit for a few minutes and let the foam settle.
- Next, line your sieve with the cheesecloth (or nut bag!) and set over a large bowel or measuring cup.
- Pour your ghee in. You’ll notice little reddish-brown milk solids left behind. You can discard these solids but if you’re curious feel free to taste them. Apparently, some people use them to make sweets.
- Transfer your filtered ghee into a glass jar. Notice its beautiful gold colour and delicious caramel aroma!
- Let it cool and set at room temperature. It will eventually turn into a solid, creamier consistency that you can easily spoon out or spread. If you store it in the fridge it will harden.
If you’re buying store-bought ghee you might notice on the jar that it says it’s shelf-stable for 2-3 months.
I tend to error on the side of caution when making it myself. I usually let it sit on the counter for 2-3 weeks max before transferring to the fridge – just to be safe. Many other websites reference one month, so that may be a safe bet as well.
There you have it – the perfect staple to add to your repertoire!
As always, I love hearing from you. Have you ever made ghee before? Do you have any tips for using it? Share your thoughts in the comment below!

Hi! I’m Elaine, a Certified Nutritionist and Master Certified Health Coach. I support women in achieving their health and body goals while prioritizing a peaceful and balanced relationship with food.
Get a free copy of my handbook!
The Elegant Eating Handbook: Timeless Strategies for Lasting Weight Loss and a Peaceful Relationship with Food.
share with friends
keep reading...
